How to Maintain a Drop-Stitch Pool: Chemicals, Filtration, and Storage
title: "How to Maintain a Drop-Stitch Pool: Chemicals, Filtration, and Storage" slug: "drop-stitch-pool-maintenance-chemicals-filtration" description: "Complete maintenance guide for GIGI drop-stitch pools. Weekly chemical targets, sand filter operation and backwashing, algae prevention, and end-of-season storage." publishedAt: "2026-05-28" updatedAt: "2026-05-28" author: "GIGI FRANCE Editorial Team" category: "Maintenance" readingTime: "10 min" coverImage: "/images/blog-drop-stitch-pool-maintenance-chemicals-filtration.jpg" relatedArticles:
- "how-to-install-drop-stitch-pool"
- "13ft-vs-16ft-vs-19ft-above-ground-pool-size"
- "drop-stitch-vs-steel-frame-vs-inflatable-pool"
A drop-stitch pool at 5 ft depth with 4,500 to 10,100 gallons of water requires the same maintenance discipline as any residential pool. The good news: the sand filter 330W included with every GIGI pool is the same filtration standard used in semi-inground and inground residential installations — it handles these volumes effectively and requires less frequent intervention than cartridge systems at comparable capacity.
This guide covers the daily and weekly maintenance routine, water chemistry targets, sand filter operation and backwashing, end-of-season storage, and the most common issues with their diagnostic steps.
Maintenance Schedule at a Glance
| Task | Frequency | Time required |
|---|---|---|
| Run sand filter | Daily, 6–8 hours minimum | Passive |
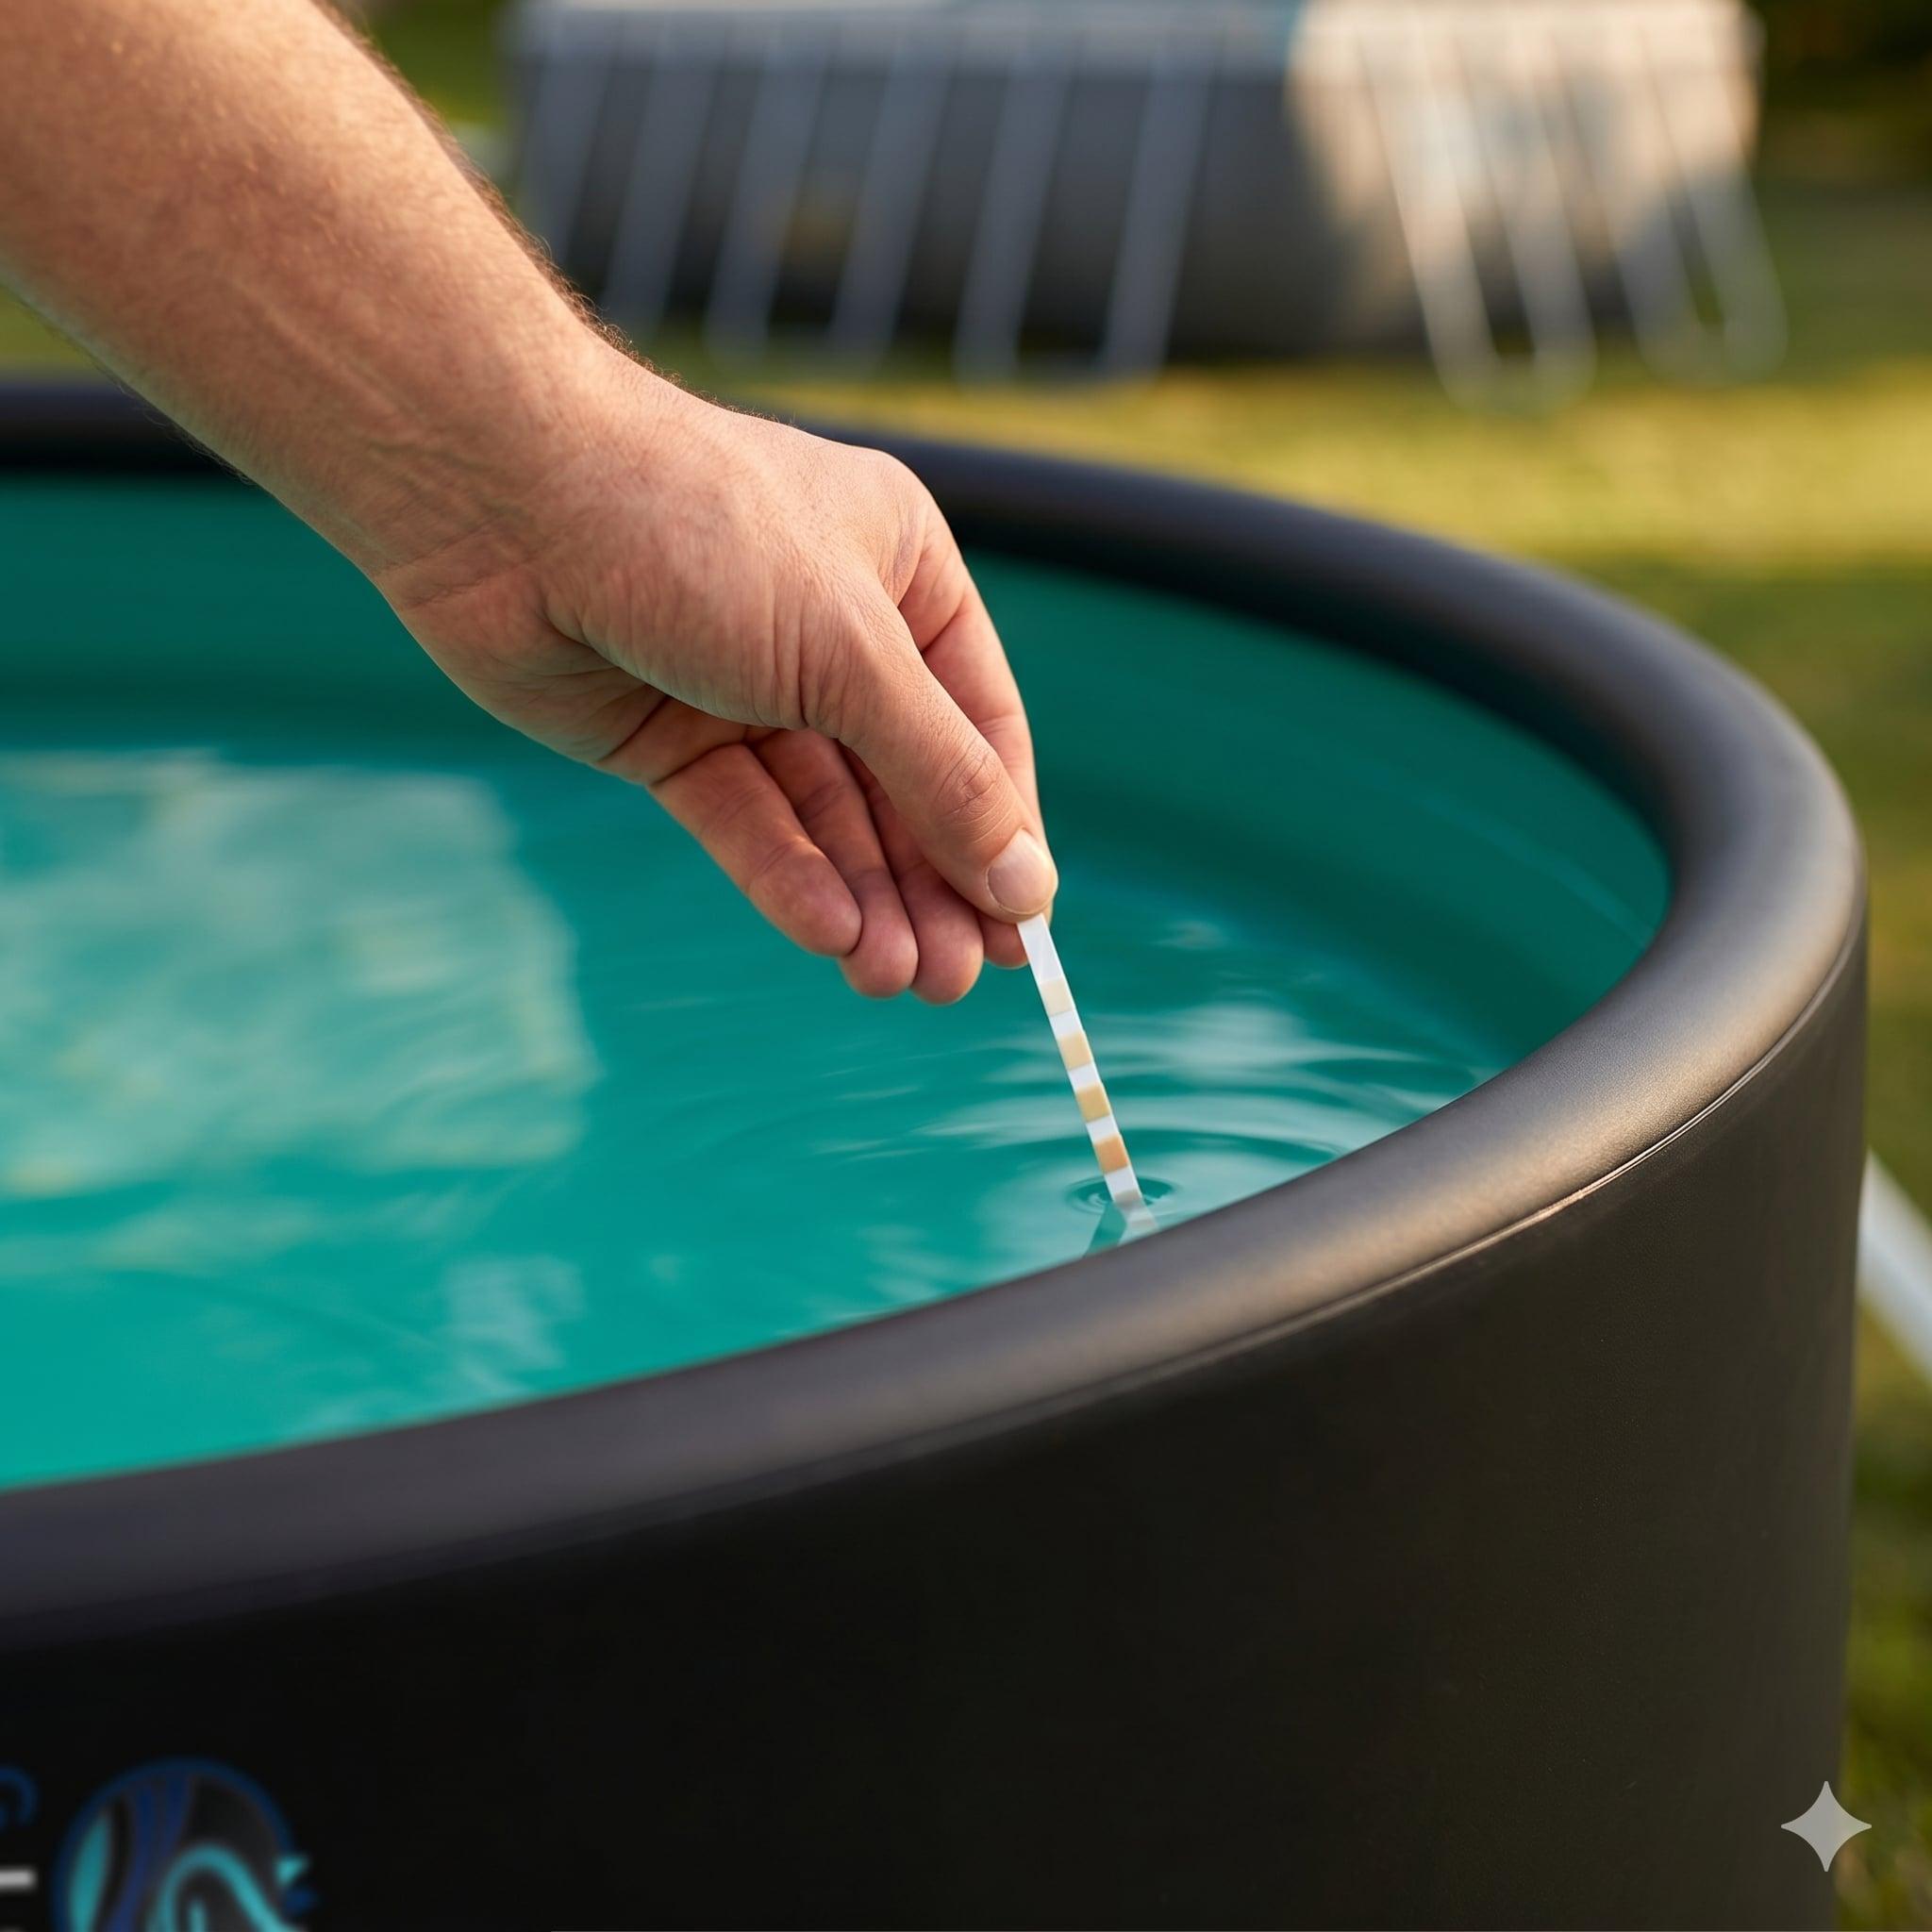
| Test water chemistry | 2–3× per week in summer | 5 minutes |
| Adjust pH / chlorine | As needed after testing | 5–10 minutes |
| Skim surface debris | Every 1–2 days | 5 minutes |
| Brush pool walls and floor | Weekly | 15–20 minutes |
| Check inflation pressure | Weekly | 2 minutes |
| Backwash sand filter | Every 4–6 weeks, or when pressure rises 7–10 PSI above clean baseline | 10 minutes |
| Clean filter body exterior | Monthly | 5 minutes |
| Full drain + storage | End of season | 4–6 hours |
Water Chemistry: The Targets and Why They Matter
Pool water chemistry is the foundation of a clean, safe pool. The sand filter removes physical particles; chemistry handles biological contamination. Getting both right keeps the water clear and prevents problems that are much harder to fix than they are to prevent.
Free chlorine: 1–3 ppm
Free chlorine is your primary sanitizer. At 1–3 ppm, it kills bacteria, algae, and pathogens. Below 1 ppm, the pool is under-sanitized and will cloud or go green quickly in warm weather. Above 5 ppm, the water is irritating to eyes and skin.
In the US Sun Belt — Texas, Florida, Arizona — UV degradation burns through chlorine faster than in northern states. On a 95°F day with direct sun on the pool surface, unstabilized chlorine can drop from 3 ppm to near zero in 4–6 hours. This is why cyanuric acid (stabilizer) matters for outdoor pools.
Stabilizer (cyanuric acid): 30–50 ppm. Cyanuric acid bonds with chlorine and protects it from UV degradation. It slows the rate at which free chlorine burns off in sunlight. If you're using unstabilized chlorine (calcium hypochlorite), add stabilizer separately. Most chlorine tablets (trichlor, dichlor) already contain stabilizer — in this case, test levels every 2–3 weeks and add water to dilute if stabilizer accumulates above 80 ppm.
pH: 7.2–7.6
pH is the single most important water chemistry parameter to stay on top of. At the correct pH range, chlorine is effective. Below 7.2, the water becomes acidic — it's aggressive to the DWF material and irritates skin and eyes, but chlorine is very effective. Above 7.8, chlorine efficiency drops sharply (at pH 8.0, only about 20% of your chlorine is active) — algae and bacteria thrive even with adequate chlorine levels.
Test pH at least twice per week. pH drifts upward naturally over time as swimmers, sunscreen, and body oils enter the water. Muriatic acid (hydrochloric acid) or sodium bisulfate brings pH down. Sodium carbonate or soda ash raises it.
Total alkalinity: 80–120 ppm
Alkalinity is the buffer that keeps pH stable. Low alkalinity (below 80 ppm) makes pH unstable — it swings up and down with every chemical addition. High alkalinity (above 150 ppm) makes pH hard to adjust and can cause cloudy water.
Calcium hardness: 200–400 ppm
Less critical than chlorine or pH, but worth checking monthly. Very low calcium hardness (below 150 ppm) makes water "hungry" for calcium — it will leach it from the pool surfaces. In a DWF pool, the main concern is valve and fitting components. Very high hardness causes scale. Most US tap water falls within an acceptable range.
The Sand Filter 330W: Operation and Schedule
The sand filter 330W included with GIGI pools is the filtration method used in most residential in-ground and semi-inground pool installations. It works by pushing water through a bed of specially graded filter sand, which traps particles as small as 20–30 microns — enough to keep a well-maintained pool visibly clear.
Daily operation
Run the sand filter for a minimum of 6–8 hours per day during the swimming season. In hot weather (90°F+) with heavy use, 8–10 hours is more appropriate. Set the filter on a timer if possible — running it during off-peak hours (overnight or early morning) is fine and can reduce the noise impact if the filter is near a sleeping area.
The filter valve should be in the FILTER position during normal operation. Confirm this before every season and after any maintenance.
Do not run the filter with no water in the pool. The 330W pump circulates water — running it dry damages the impeller and motor within minutes.
Reading the pressure gauge
The sand filter has a pressure gauge on the intake. At the start of each season with a clean sand bed, note the baseline pressure — this is your "clean" reading, typically 8–12 PSI for the 330W. Write this number down.
As the sand bed traps debris, pressure increases. When the reading is 7–10 PSI above your clean baseline, it's time to backwash.
Backwashing the Sand Filter
Backwashing reverses the water flow through the sand bed to flush trapped debris out of the filter. It's the primary maintenance step for the sand filter and takes about 10 minutes.
When to backwash
- When filter pressure is 7–10 PSI above the clean baseline
- After a heavy storm or leaf fall that significantly loaded the filter
- At the beginning of each season before refilling with fresh water
Backwash procedure
- Turn off the filter pump
- Connect a backwash hose to the filter's waste port (backwash outlet) — this hose should run to a drain, sewer connection, or area of the yard away from the pool and children
- Turn the multiport valve to the BACKWASH position
- Turn the pump on and run it for 2–3 minutes, or until the water in the sight glass (the small clear window on the valve) runs clear
- Turn the pump off
- Turn the multiport valve to RINSE
- Run the pump for 30–60 seconds on RINSE — this resettles the sand bed before returning to filter mode
- Turn the pump off
- Turn the multiport valve back to FILTER
- Turn the pump on and confirm normal operation
Attention: Never turn the multiport valve while the pump is running. Always stop the pump first, then rotate the valve. Switching under pressure damages the valve seals.
After each backwash, top up the pool water if needed — backwashing discharges 50–100 gallons of water per cycle.
When to replace the filter sand
Filter sand has a service life of approximately 3–5 years with normal use. When you notice consistently poor water clarity despite correct chemistry, or when backwashing no longer restores filter performance, the sand bed may be channeled or fouled. Replacing the sand involves: turning off the pump, removing the filter top (unscrew the multi-port valve), scooping out the old sand, rinsing the filter body, refilling with new pool filter sand (grade #20 silica sand), and reassembling.
End-of-Season Storage
Proper storage is the most important maintenance step for pool longevity. A GIGI pool that is stored incorrectly — wet, partially inflated, or in a freezing location — will show reduced performance in subsequent seasons. A pool stored correctly has the potential to last 5–10 seasons.
Draining
Use the drain plug at the pool base or a submersible pump to drain the water. Never cut corners on draining time — residual water left in the pool body during storage causes mold and mildew that permanently damages DWF material. A submersible pump removes most of the water in 1–3 hours depending on pool size; the final few inches can be removed with a wet/dry vacuum.
Rinsing and drying
After draining, rinse the pool interior with clean water using a garden hose. This removes residual chemicals, debris, and scale deposits. Then:
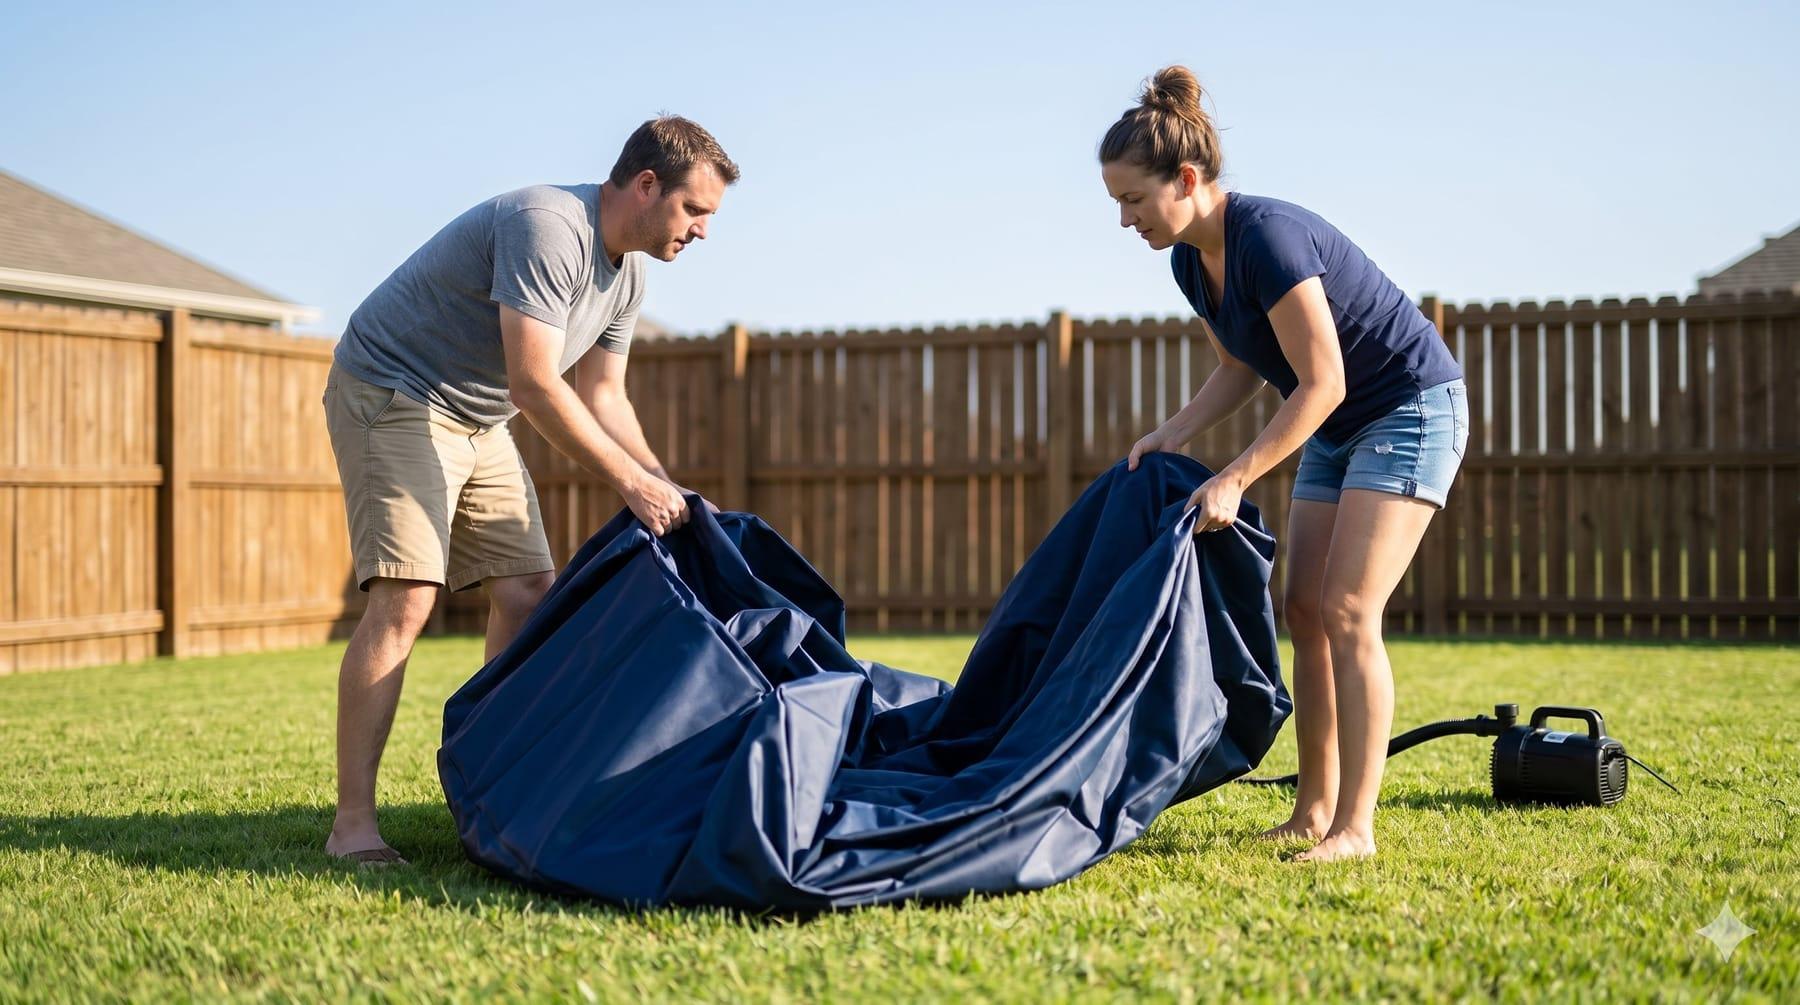
- Remove as much water as possible
- Open the pool flat in a sunny area or allow air circulation on both sides
- Allow 4–6 hours of drying time at 25°C (77°F) or warmer — longer in cooler, less sunny conditions
- Check all surfaces by pressing your hand against the material — if it feels damp or cool, it needs more drying time
The pool must be completely dry before folding. Any moisture retained in the folds will develop mold within days in storage.
Deflating and folding
- Open all inflation valves fully to allow the pool to deflate
- Use the pump in deflation mode to speed up the process
- Once fully deflated, fold the pool flat following the original fold lines from the factory — this minimizes crease stress on the DWF material
- Roll the pool from one side to the other, keeping the fold lines aligned
Tip: Dust the folded pool lightly with talcum powder before rolling — this prevents surfaces from sticking together during storage and extends material life.
Storage conditions
- Store folded and deflated in a sturdy container or storage bag
- Location: cool, dry, out of direct sunlight — a garage shelf, basement, or interior storage room is ideal
- Temperature: above -10°C (14°F) — do not allow the stored pool to freeze
- Do not store under heavy objects that could compress the DWF material
Troubleshooting Common Issues
Cloudy water
Symptom: Water is hazy, not clear. Cause: Low chlorine, high pH, or inadequate filtration run time. Solution:
- Test water chemistry. If free chlorine is below 1 ppm, shock the pool (add chlorine to bring it to 5–10 ppm)
- Adjust pH to 7.2–7.6 (low pH makes shock more effective)
- Run the sand filter continuously for 24 hours
- Test again and adjust. If cloudy water persists after 48 hours of treatment, add a pool clarifier (polymer flocculant) and run the filter on continuous cycle
Green water (algae)
Symptom: Water turns green, typically overnight after a period of low chlorine. Cause: Algae growth from inadequate sanitation. Solution:
- Test and adjust pH to 7.2–7.4 first
- Super-chlorinate (shock) the pool: raise free chlorine to 10–15 ppm with a calcium hypochlorite shock treatment. For a 7,000-gallon pool, this requires approximately 2 lbs of cal-hypo at 65–70% available chlorine.
- Run the sand filter continuously
- Brush all pool walls and floor thoroughly to break up algae colonies and expose them to the chlorine
- Test every 8 hours — when chlorine returns to 1–3 ppm and water is clear, the algae outbreak is resolved
- Backwash the filter immediately after treatment to clear dead algae from the sand bed
Pool losing inflation pressure
Symptom: Pool walls noticeably softer after a few days. Cause: Slow air leak from a valve, seam, or small puncture. Solution:
- Inflate to 10–12 PSI, close all valves, and note the pressure
- Check again after 24 hours. Minor pressure loss (0.5–1 PSI) from temperature change is normal. Loss of 2+ PSI suggests a real leak.
- Mix soapy water and apply to all valves first — look for bubbles
- If valves are tight, inflate fully and submerge sections of the pool body in water (for small pools) or use soapy water applied systematically around the pool exterior
- When you find the leak: dry the area, apply the repair patch from the included kit (follow the adhesive instructions), and allow 24 hours cure time before re-inflating
Sand coming through the filter return
Symptom: Fine grit or sand in the pool water, coming from the filter return nozzle. Cause: Damaged lateral (the star-shaped strainer at the bottom of the sand bed inside the filter body). Solution: Turn off the filter. Inspect the lateral inside the filter body — it may have cracked, allowing sand to bypass the filter. Replacement laterals are standard parts available at pool supply stores. This repair requires opening the filter and partially removing the sand.
Related Reads
- How to Install a Drop-Stitch Pool: Complete Step-by-Step Guide
- 13ft vs 16ft vs 19ft: How to Choose the Right GIGI Pool Size
- Drop-Stitch Pool vs Steel Frame vs Inflatable: Which Is Right for You?
Questions about your GIGI pool? Contact us at contact@gigifrance.com — we respond within 1 business day. Or browse the FAQ for quick answers. Ready to order your first GIGI pool? View the full lineup.
Related Reads
Ready to find the right pool for your backyard?
Explore GIGI Drop-Stitch Pools